How to use Image to Image AI Generator (prompts, styles, settings, photo to anime) - Autodraft
In this article, we will explore the world of Image to Image AI Generator and its potential for generating stunning images. We will discuss specific use cases: how to turn an image into AI art using Autodraft, generating anime style ai art from photos, creating AI paintings from pictures, customizing generated images (background, face, logo, and other elements) and how AI generated images can be used for portraits, wallpapers, and other purposes.
Let’s get started with:
1. How to Turn an Image into AI Art using Autodraft
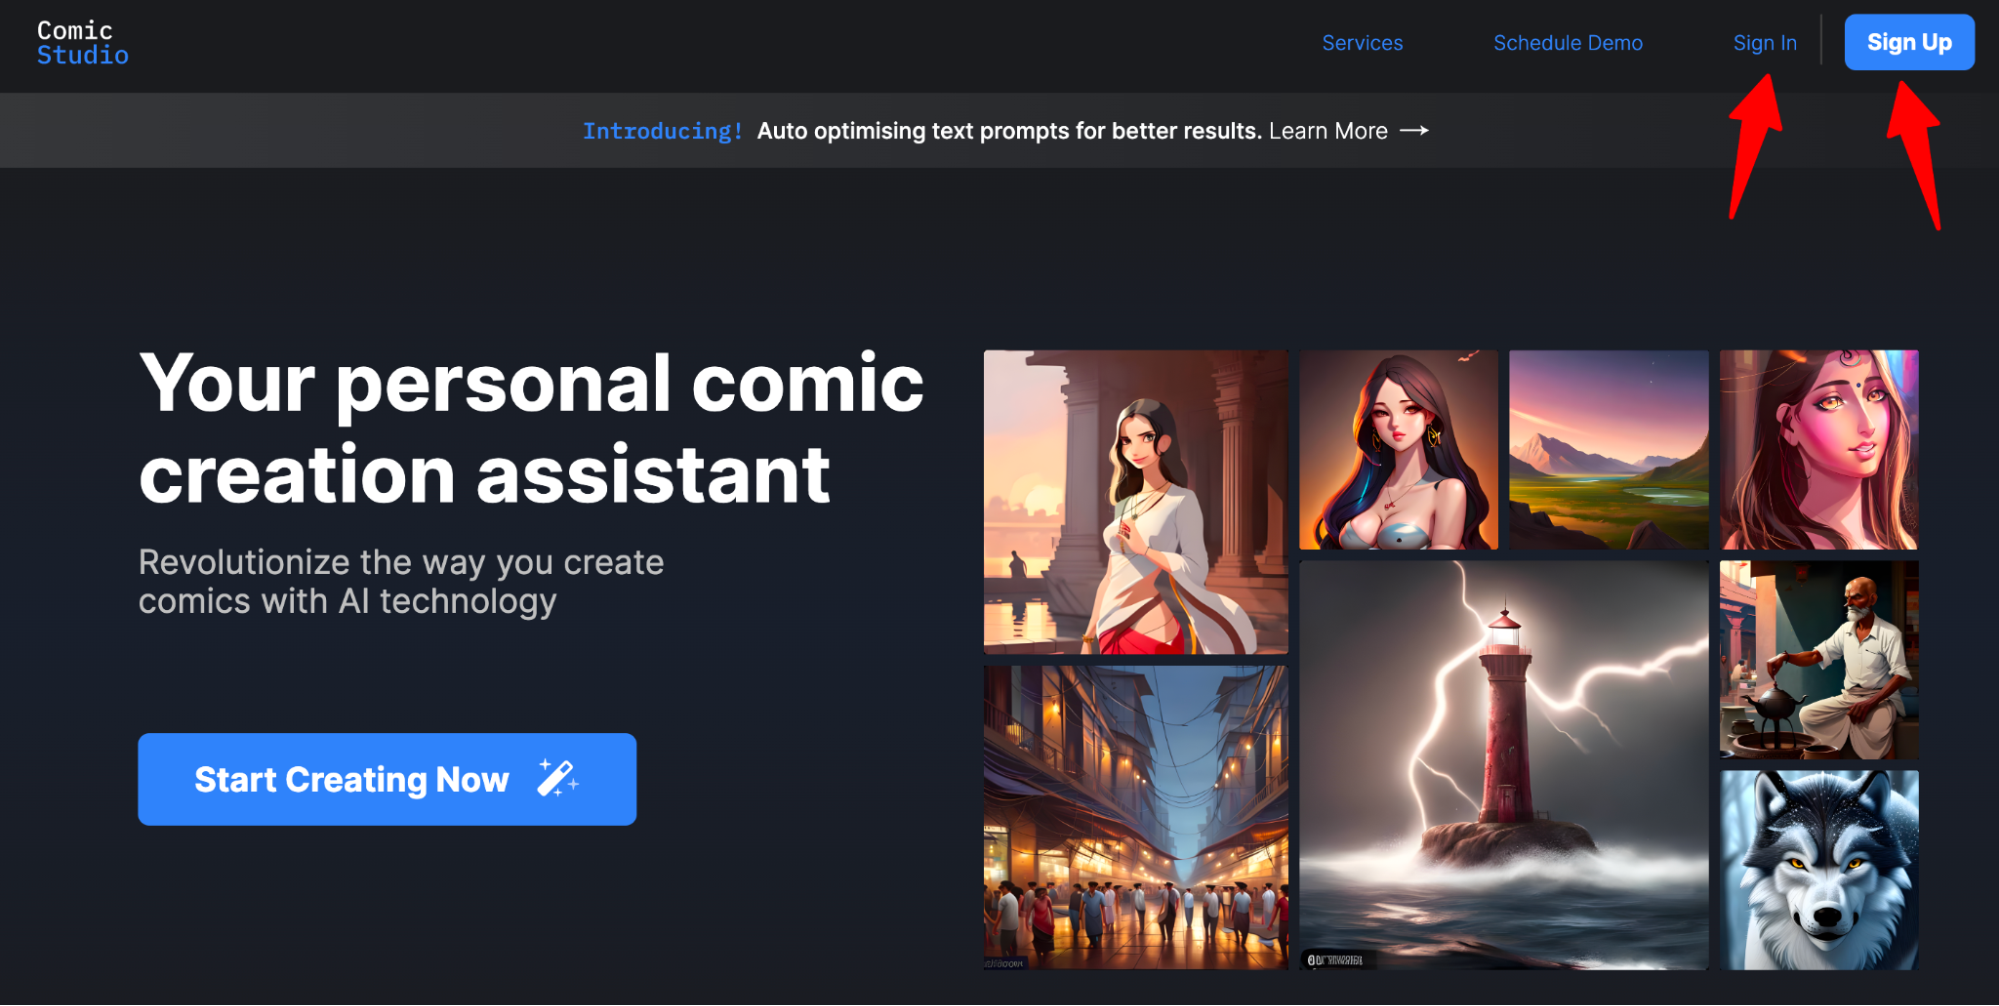
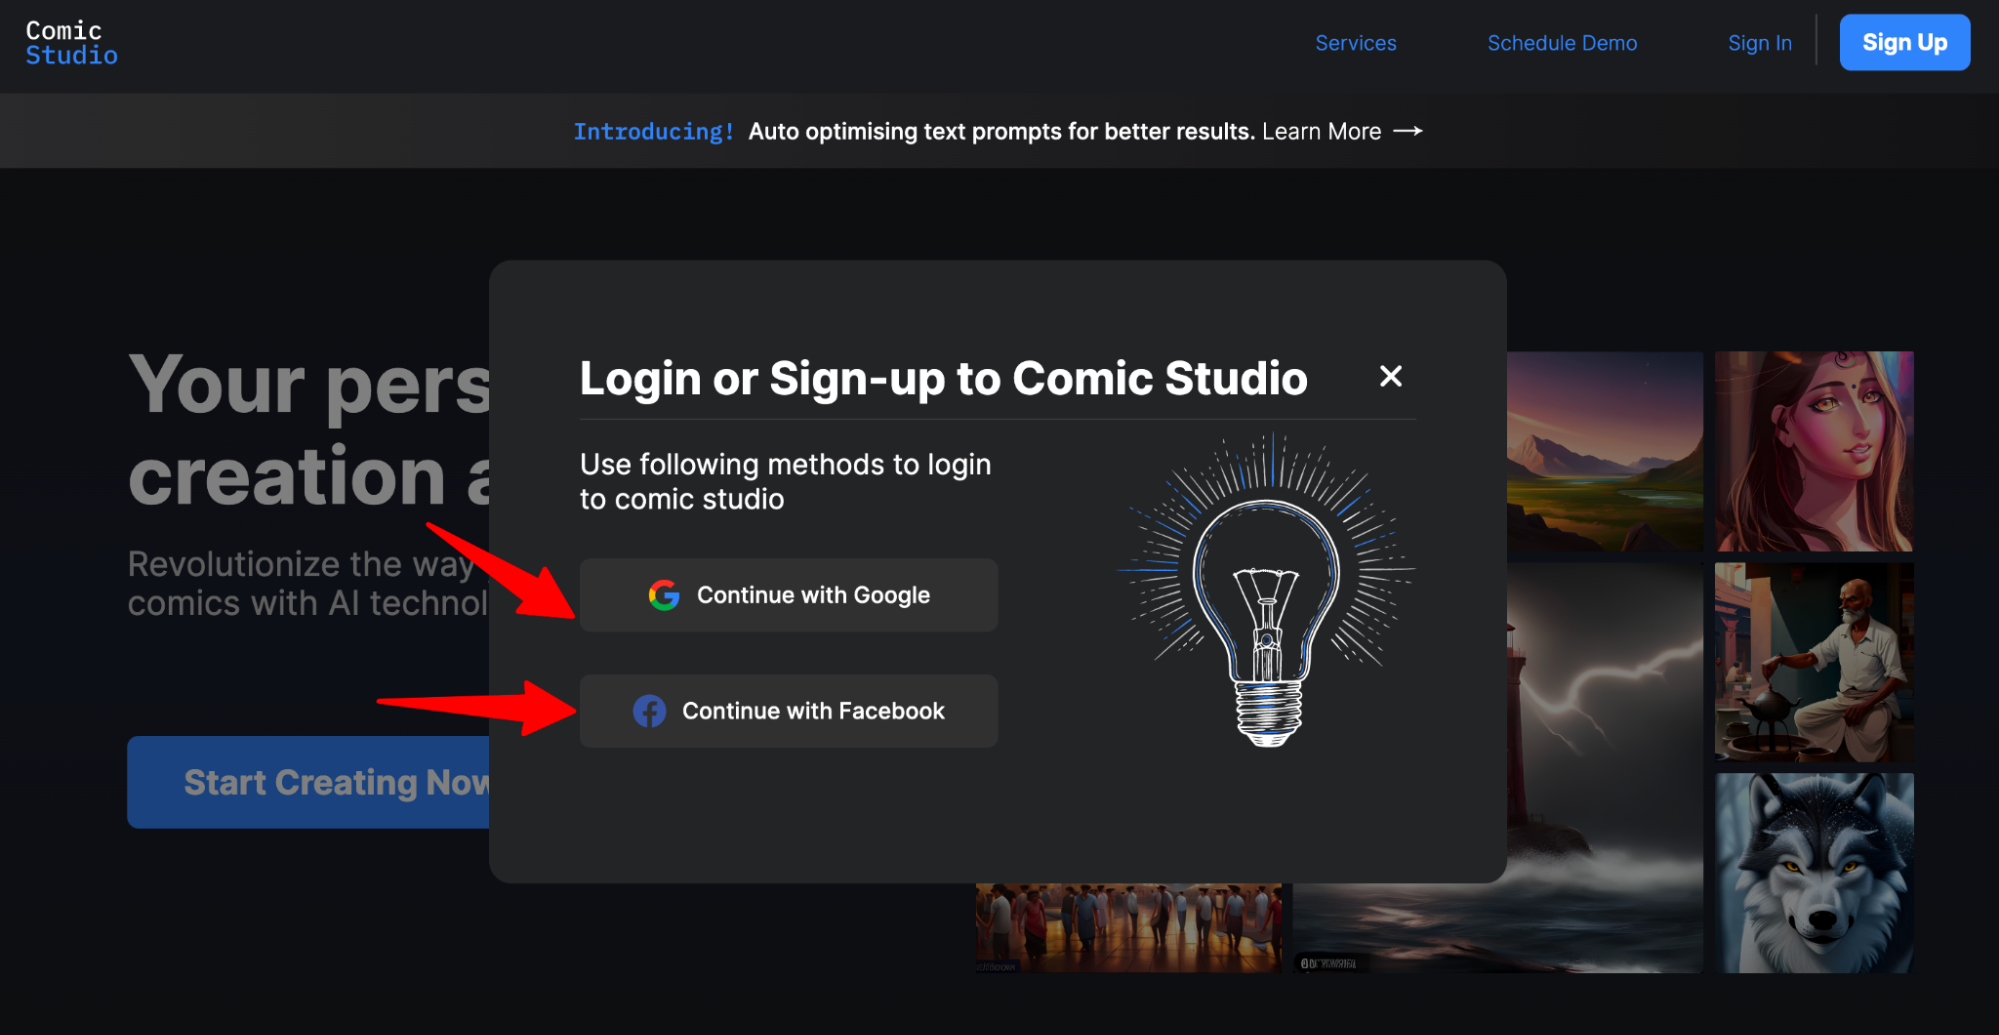
Firstly open Autodraft and login/signup into the account.
Once logged in click on the “Image to Image” in Autodraft’s AI image art creation screen and click on “Upload Custom Image”.
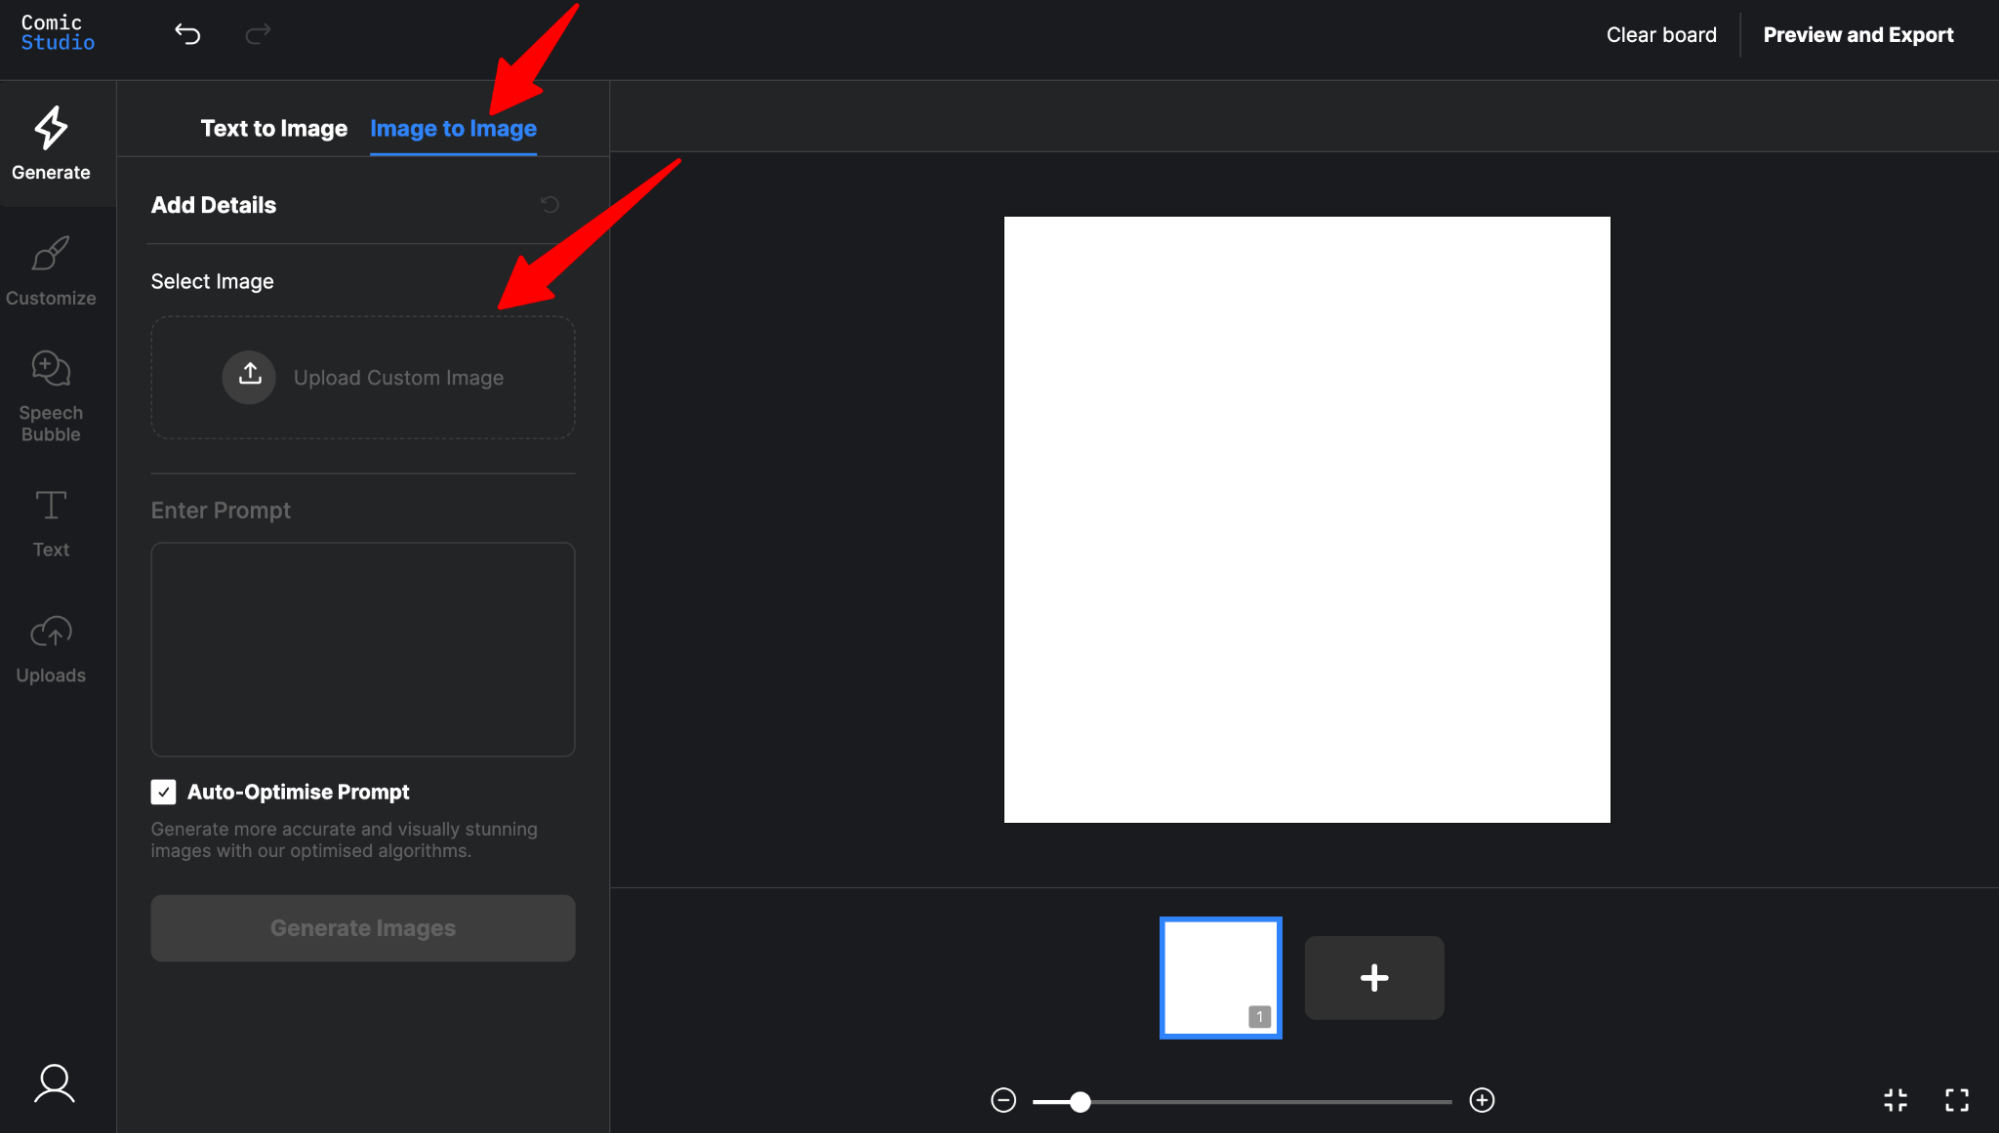
Upload a reference image as shown below. You can pick from 3 settings:
- Canny: Exact replica of the reference image
- Pose: Not an exact replica of the reference image but a similar POSE
- Default: a lot of liberty in output than CANNY & POSE
Style Selection: Currently there are 2 styles added Anime & Studio Ghibli. Once more styles are added we’ll update the blog.
While writing the prompt be more descriptive. Here are some examples of good vs bad prompts:
Bad Prompt: ~"Draw a landscape." Good Prompt: "A landscape featuring a mountain range, a river, and a forest, with a sunset in the background."
Bad Prompt: "Generate a building design."
Good Prompt: "A sustainable office building that incorporates green spaces and natural lighting, with a focus on employee wellness."
For the below example we have used the:
Prompt: “Riya and Rajveer in a romantic pose, kissing in snowy weather”
Settings: Default (a lot of liberty in output than CANNY & POSE)
Style: None
Click Generate Images and wait for output.

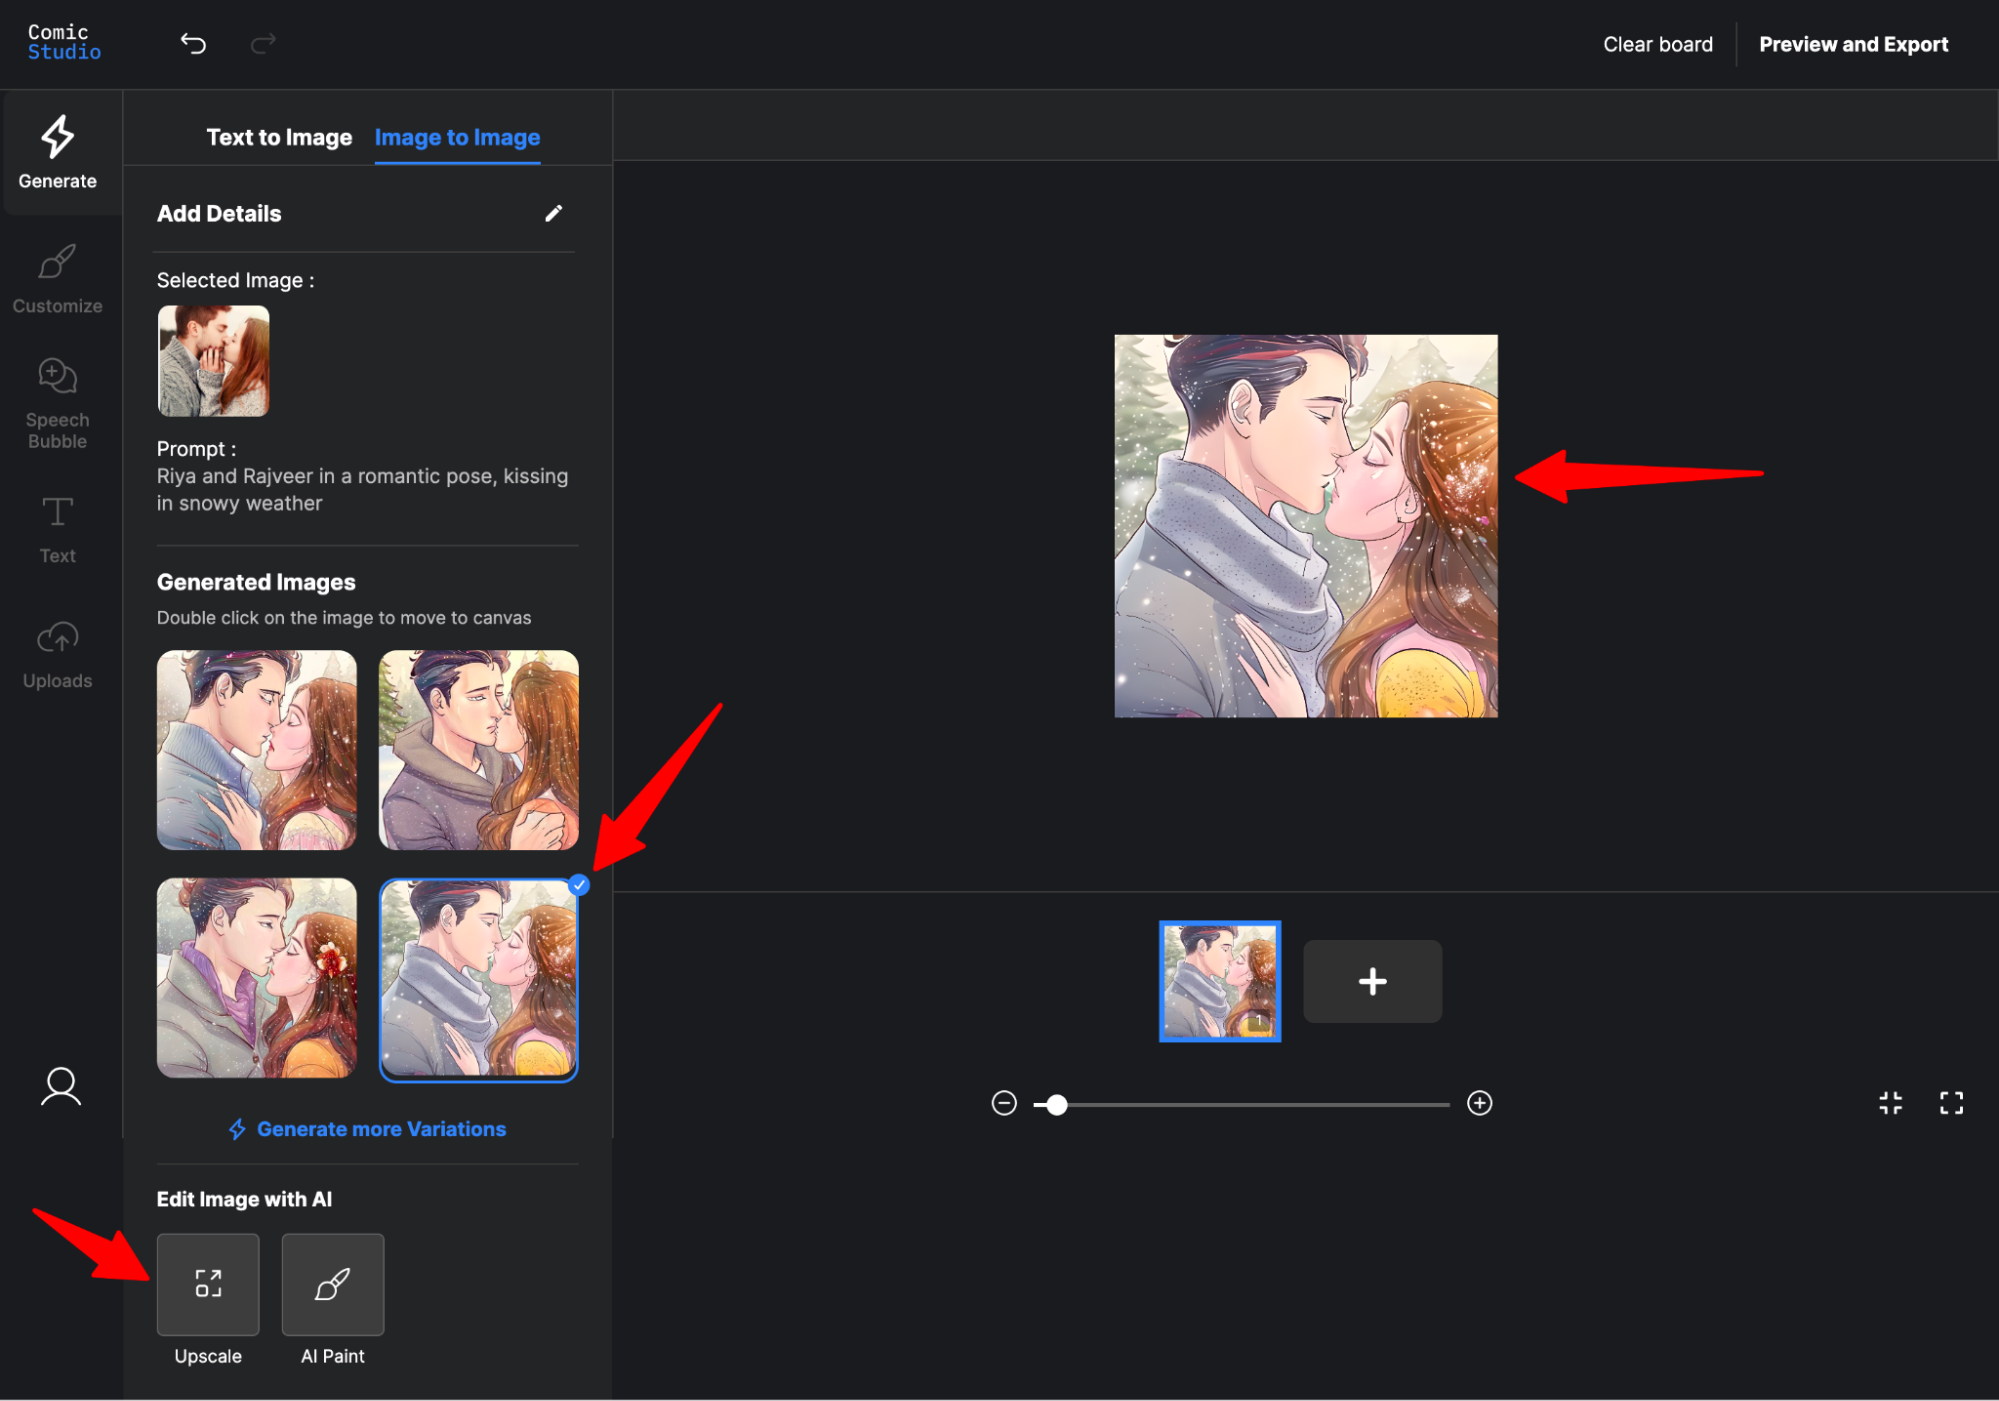
Here is the final output. The 4th image variation is pretty close to what we described as a text prompt. If you are not satisfied with the 4 variations and want to explore more image variations just click on “Generate more Variations''. Autodraft will generate another set of 4 image variations to choose from. You can repeat this process multiple times till you find the best match.
You can further edit the generated images by using the upscaling and AI paint option. Need not to worry we have created a detailed step by step guide for using upscaling and AI paint.
2. Photo to Anime AI Art Generator
Let’s see how we can turn a picture into an anime
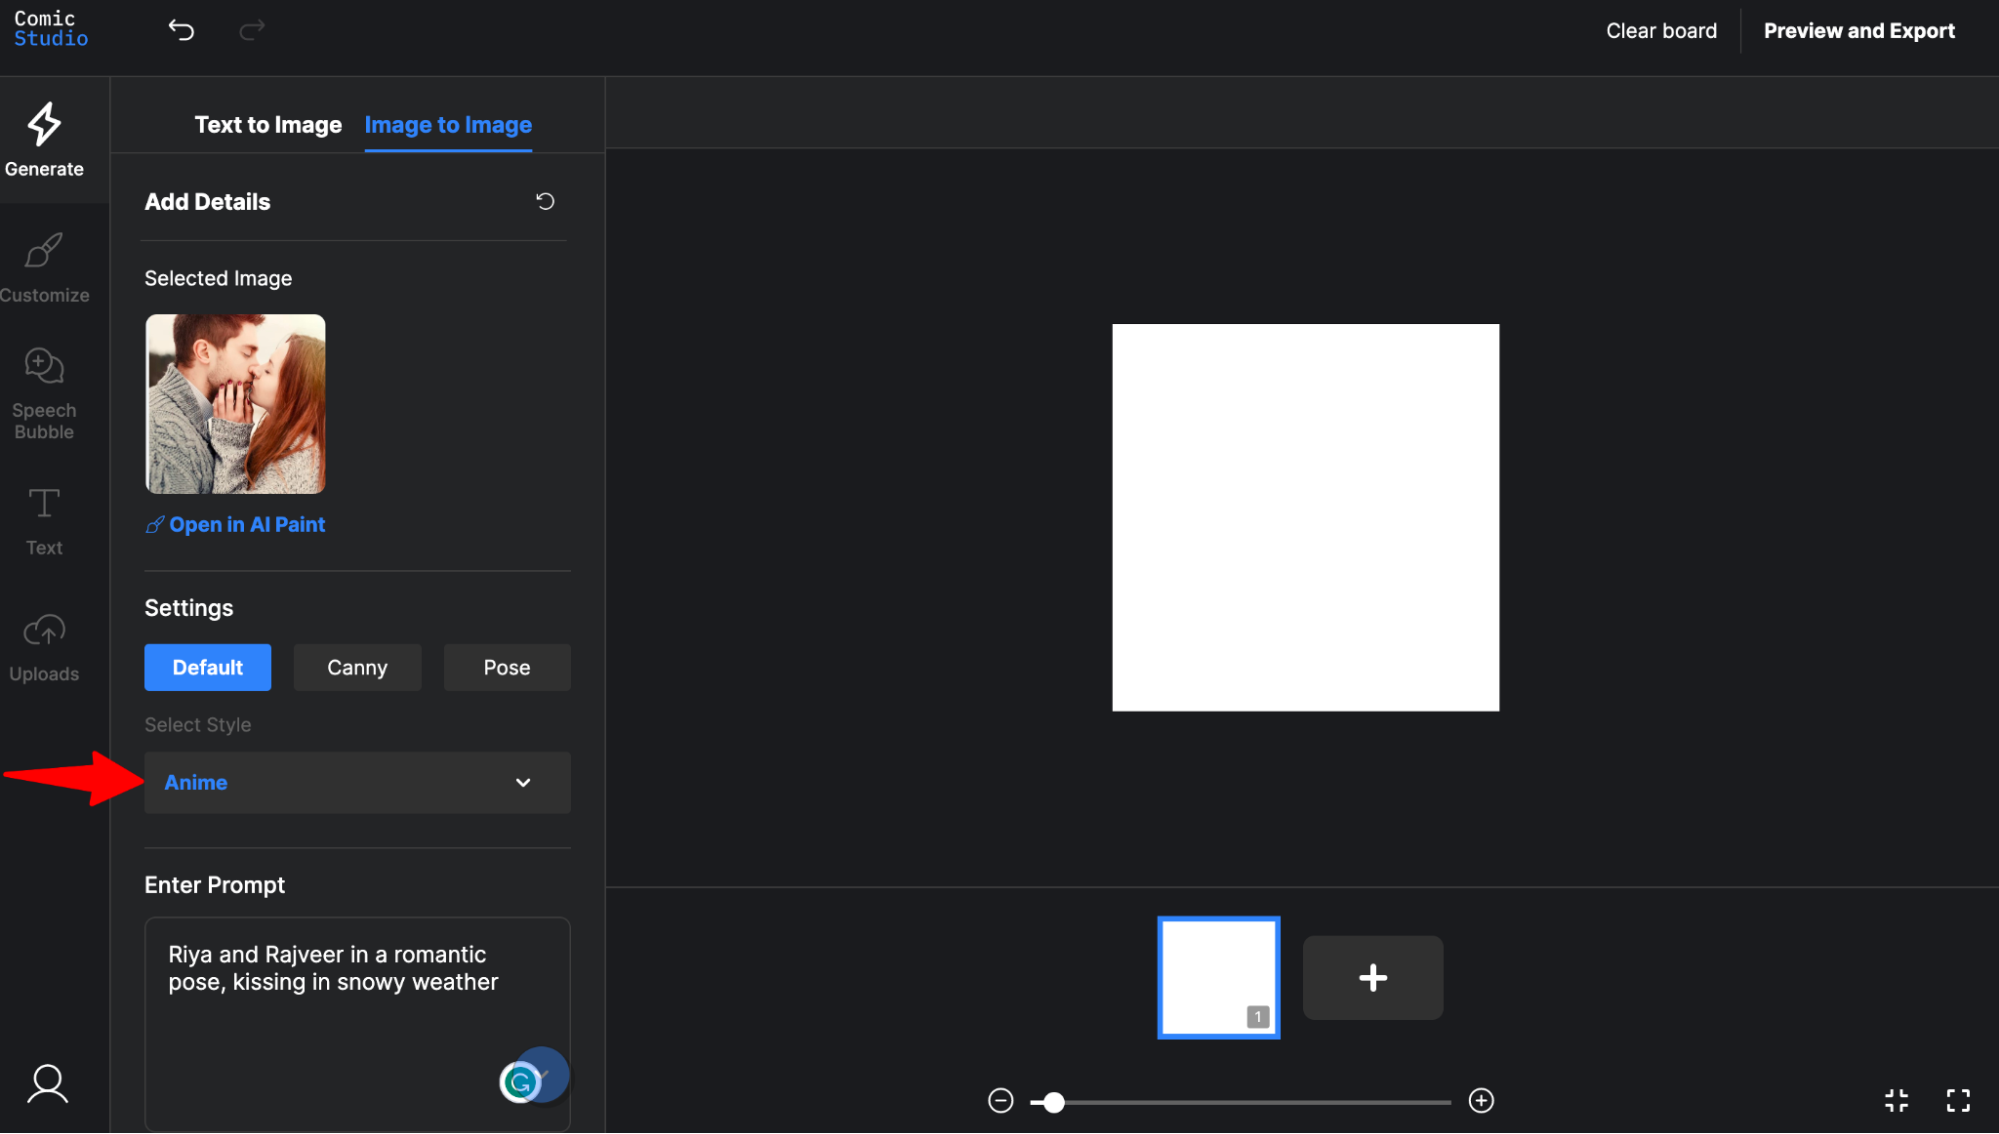
Almost everything from the above section remains the same except choosing styles:
This time we’ll chose Anime as style and see the images Autodraft creates:
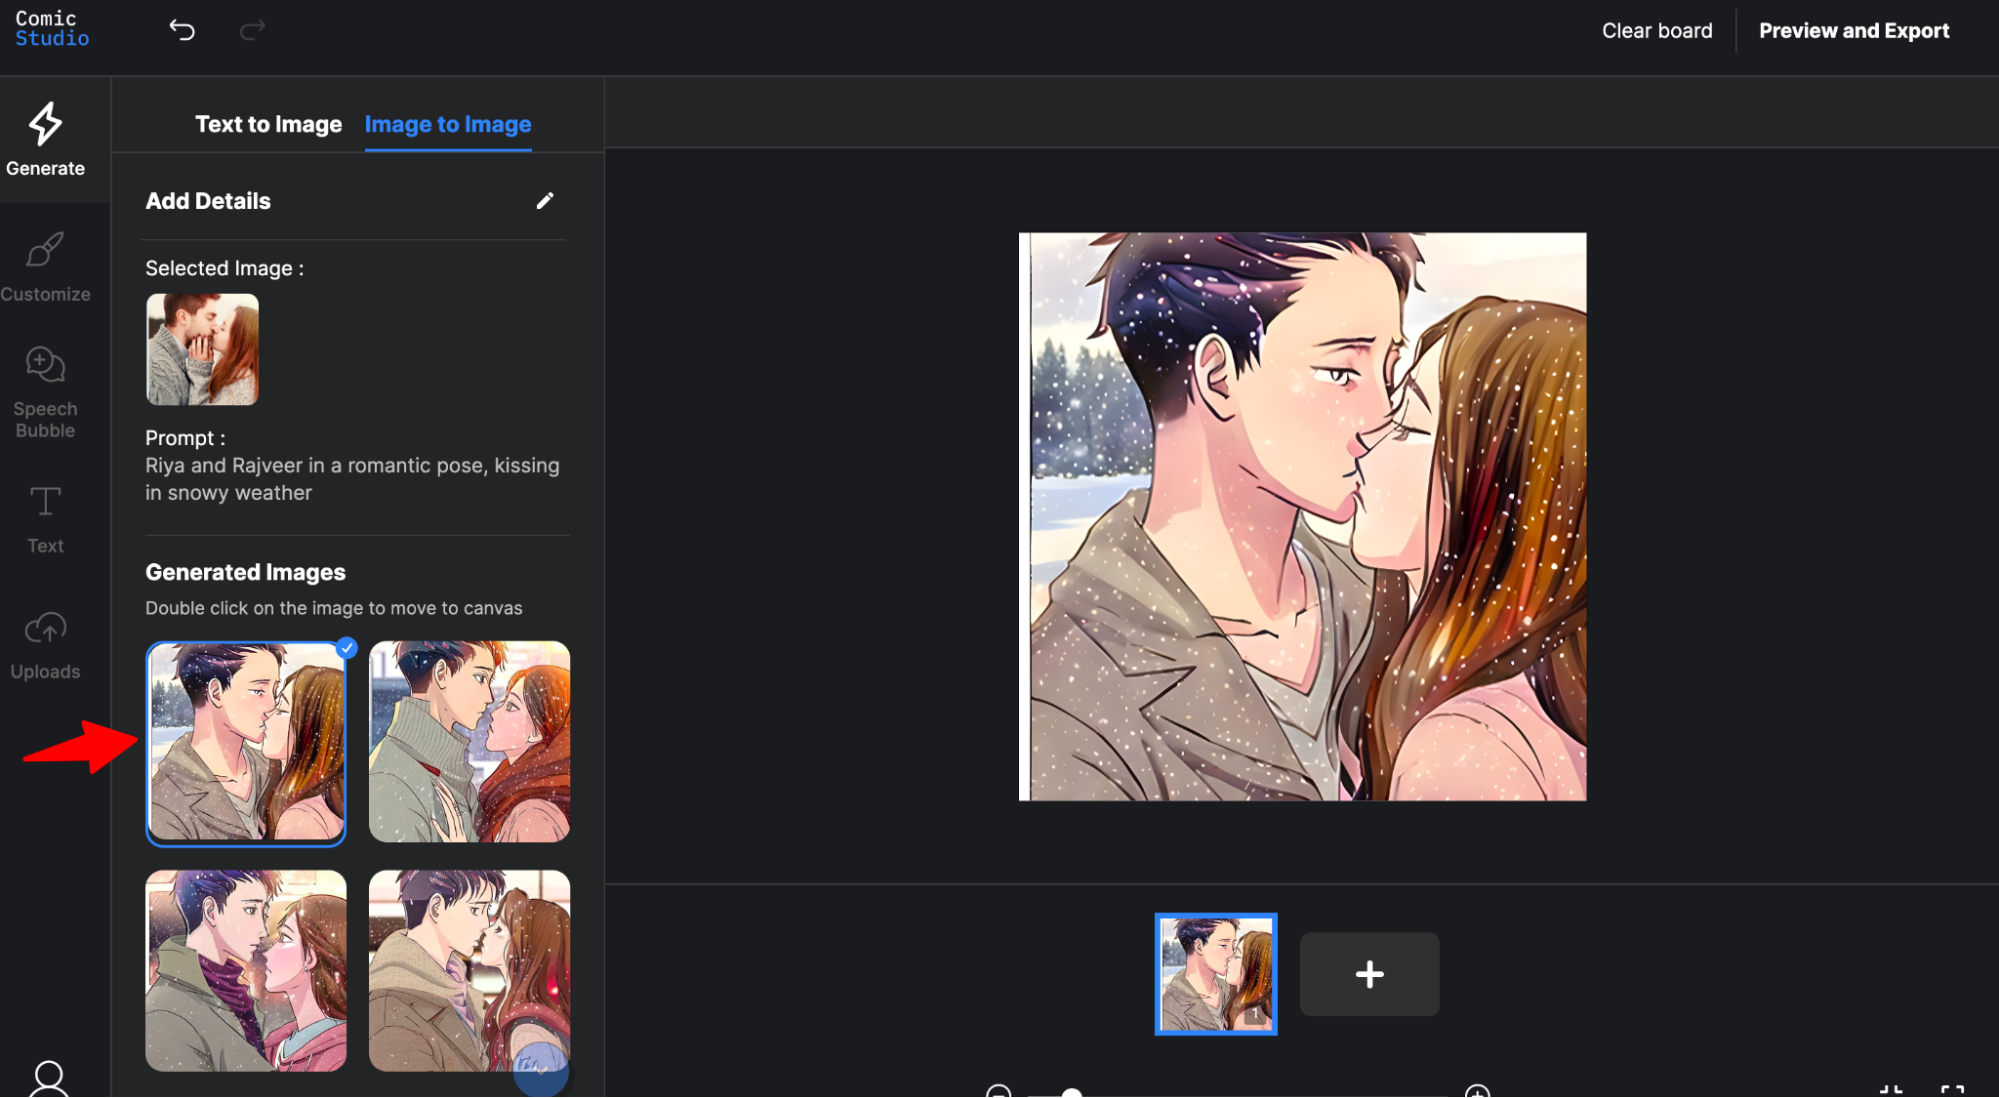
It did generate anime style faces and the 1st one will be a good match. Since in settings we have kept “Default” which gives Autodraft more liberty in output. That’s the reason you see the other 3 images a little different than the reference image instead generating anime style images exactly the same.
We upscaled the 1st image and it came out to be more detailed and structured.
Since Autodraft provides full end to end comic creation, you can create comic panels/strips using the above generated Anime art. We’ll cover the complete process of creating comics using Autodraft in our upcoming guide.
Pro Tip: Experiment by clicking "Add Details" and change the settings to Canny or Pose with style selected as “Anime” . Click on “Generate more Variations” for generating exact replica (Canny) or similar pose anime image art (Pose).
Finally we are towards the end of this detailed how-to blog. In our upcoming blogs we’ll further explore how you can customize generated images by changing the background, face, logo, and other elements.
Start your first creation here.
As we have discussed, Image to Image AI Generator has many practical applications, including AI art generator from photo anime, generating AI paintings from pictures, and more. By leveraging this technology, users can create stunning images with minimal effort and time.
In conclusion, we believe that Image to Image AI Generator will continue to evolve and shape the future of visual content creation. We hope that this article has provided you with valuable insights and inspiration to explore this further.